Add/Edit Event
- From your nav tree, click on Events data node.
- Click Create button in the App Ribbon.
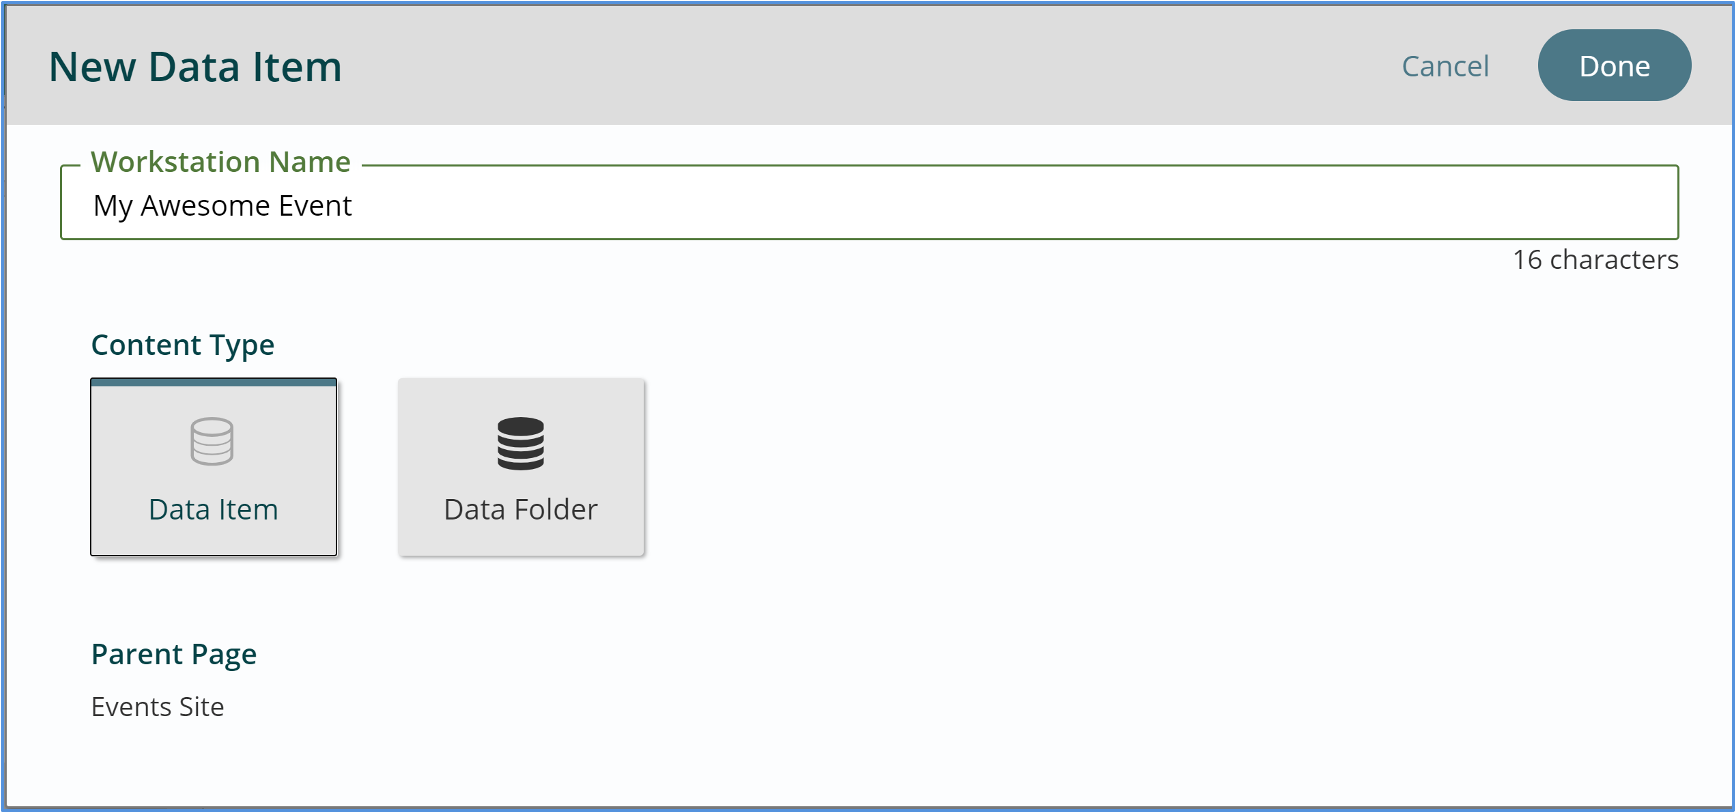
- In the New Data Item dialog box, type your event’s Workstation Name Field. Click Done.
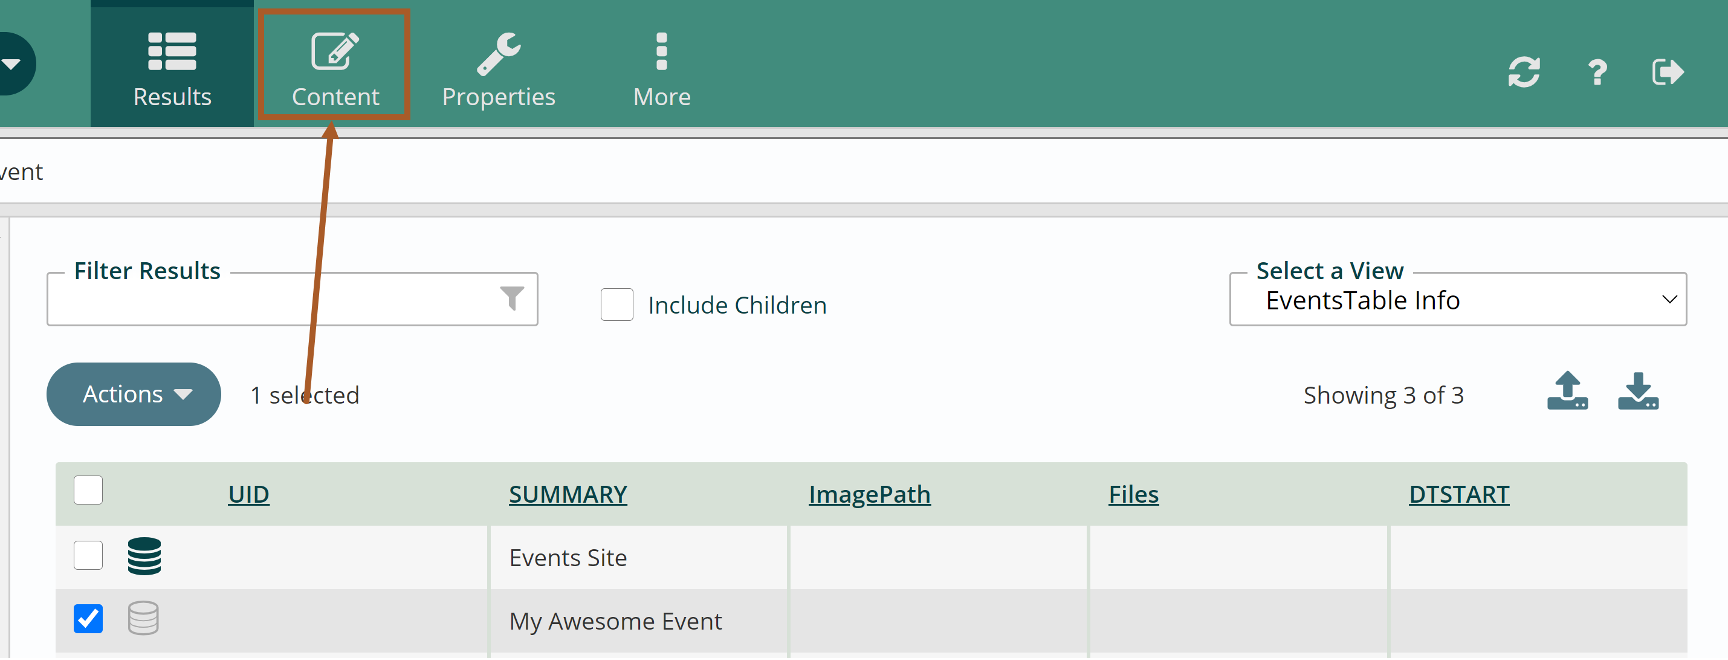
- Your new event will now appear. Select your event and click the Content button.
- The event’s content edit pane will display the following fields:
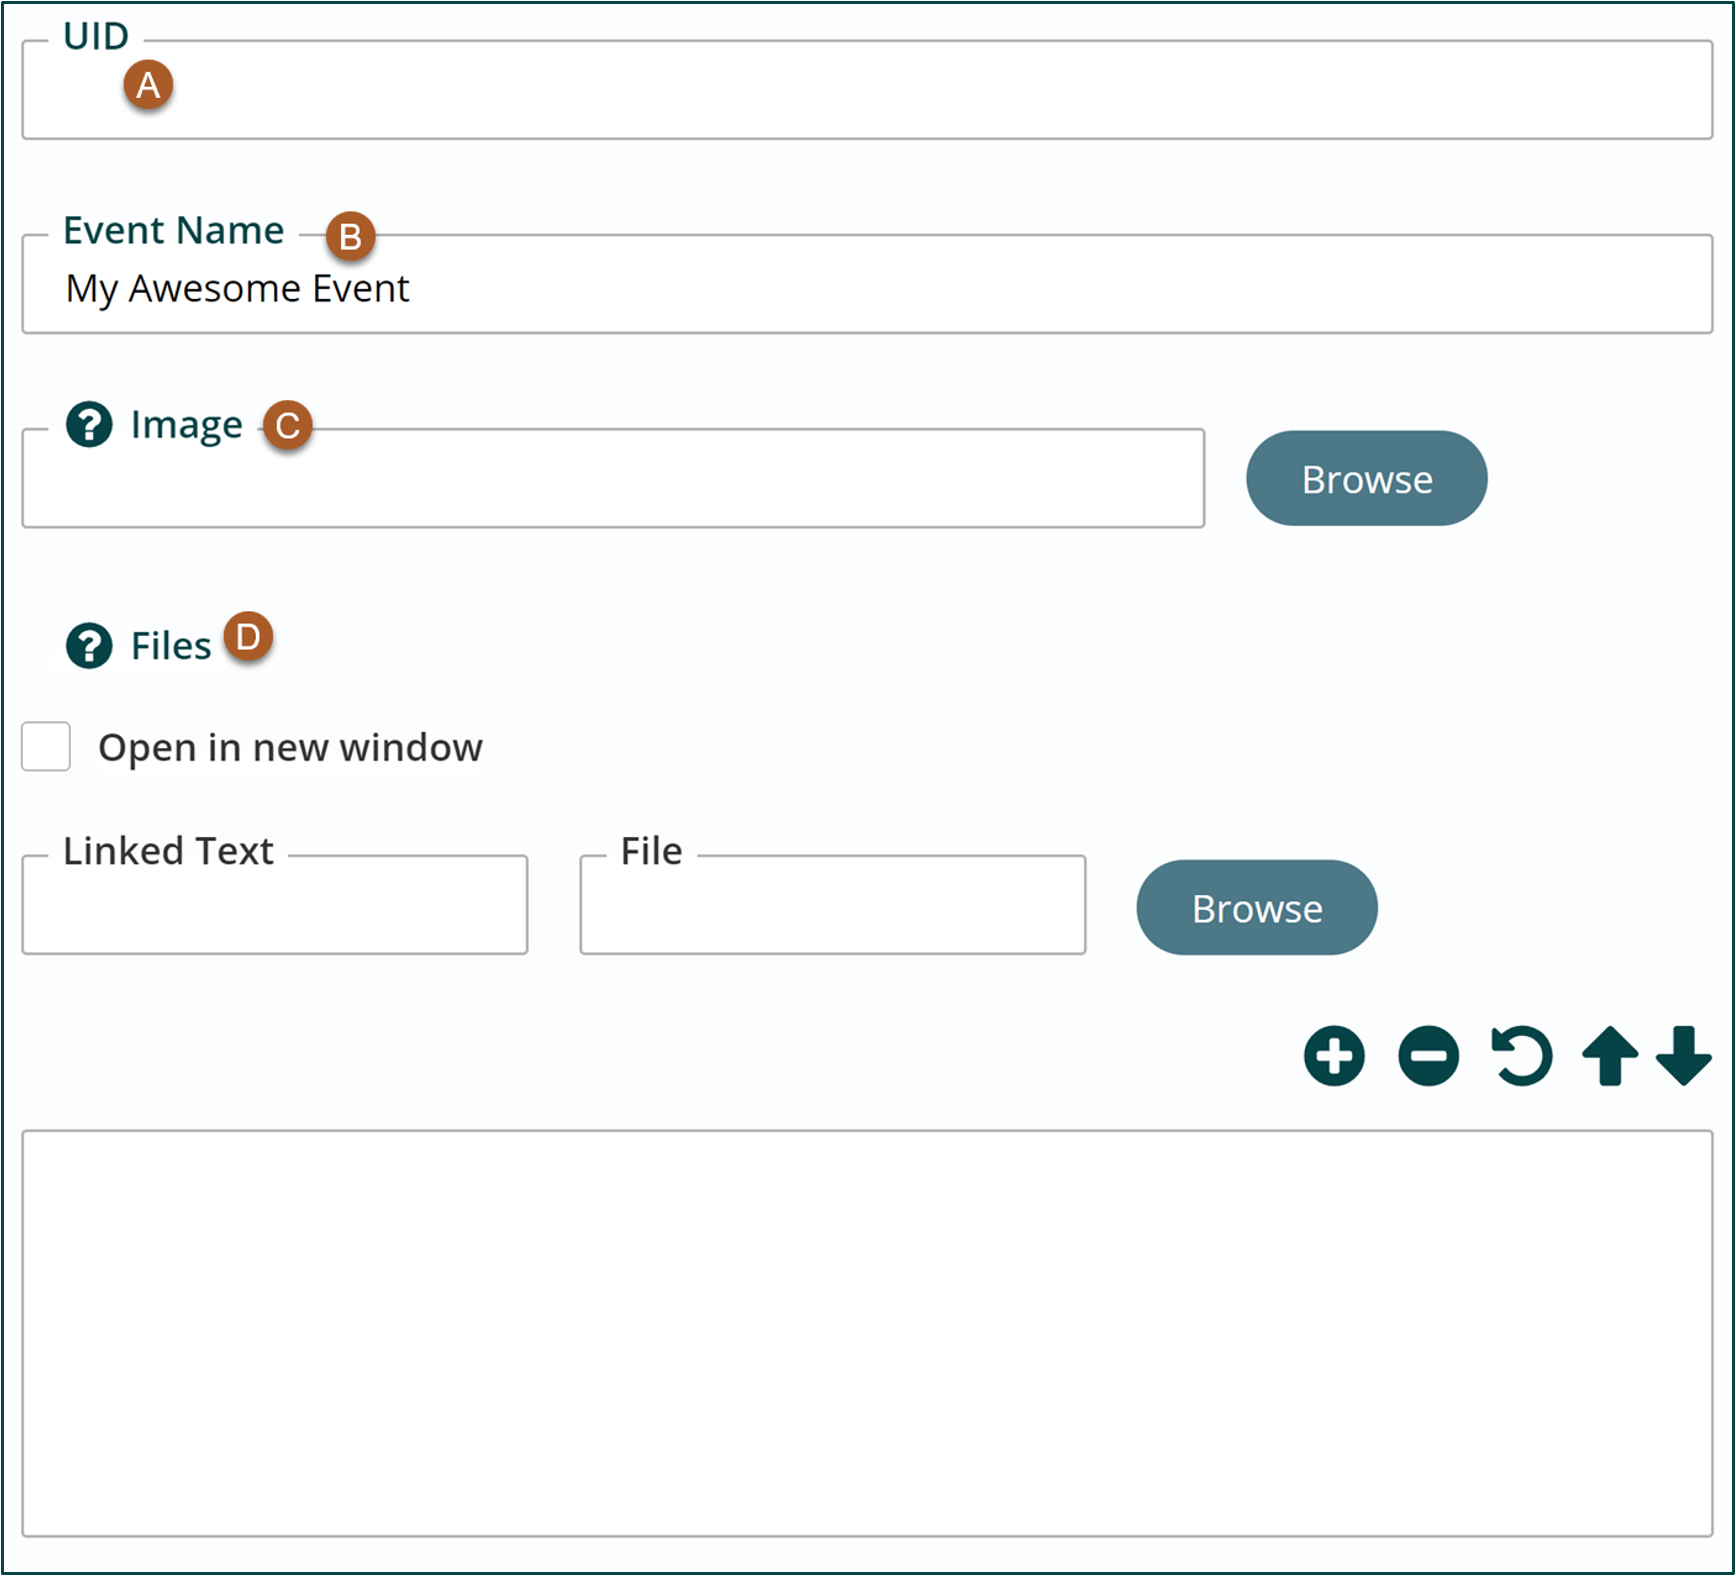
- UID – Globally unique identifier for the event. Usually used as part of an ICS file import. **leave blank for now**
- Event Name – Title of your event; will display on your site. Required field.
- Image – Choose an image from the file pile to display on your event. Not required. This image will appear on both the event detail page AND will auto-populate the teaser image field on the Properties Edit Tab.
- Files – Add files for users to download. This could be a flyer or a registration form. Not required.
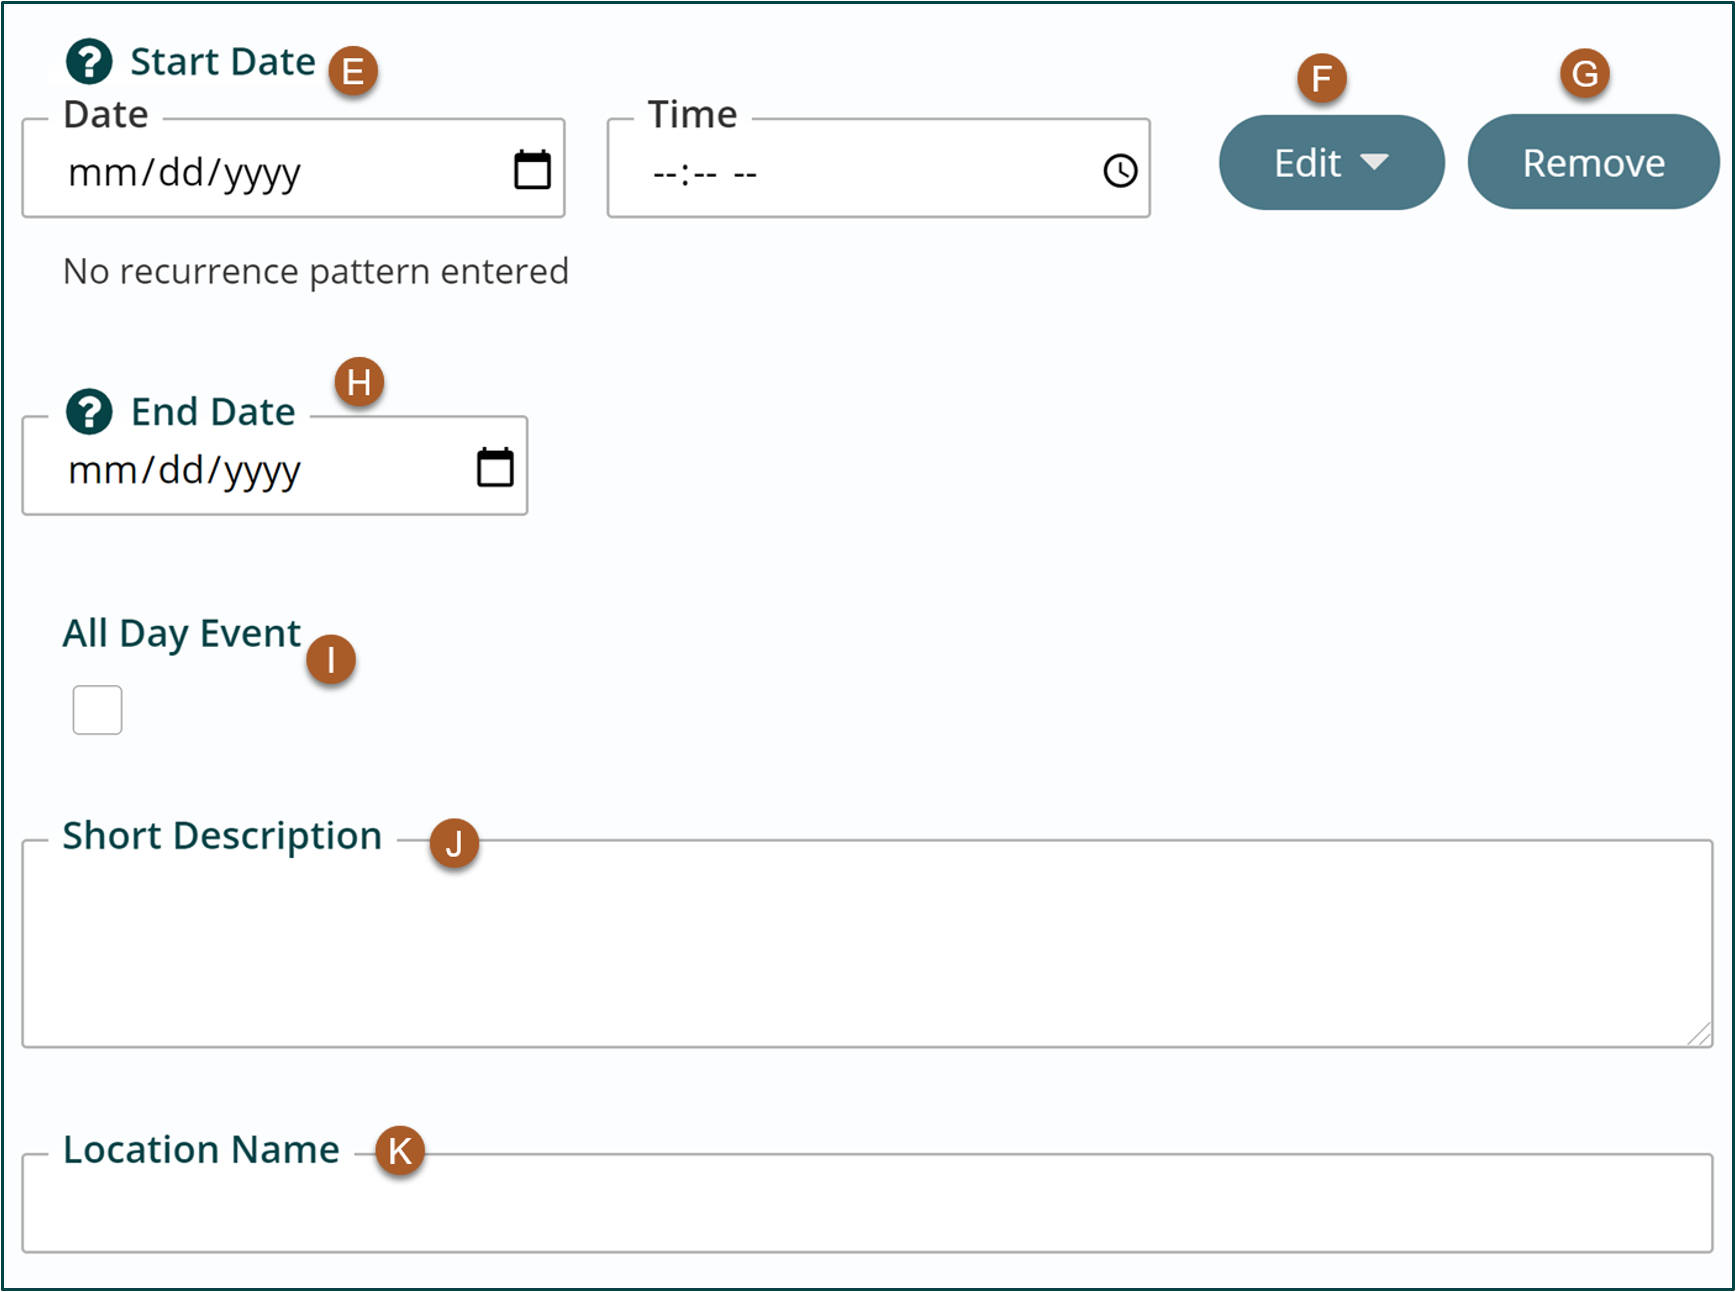
- Start Date – This is the date of the event (single-day event), or the first date if it is an event that repeats or runs for more than one day. Required field.
- Start time should follow this format: 00:00 AM
- Start time should follow this format: 00:00 AM
- End Date – This is the date of the event (single-day event) or the last date if it is an event that repeats or runs for more than one day. Required field.
- End time should follow this format: 00:00 AM
- Edit Recurrence – Where you add or edit recurrences. Example: An event will reoccur every 1st Tuesday of the month for four months.
- Remove Recurrence – Where you remove a recurrence. Example: You have a recurring event every 1st Tuesday for four months, but one of the dates falls on a holiday. You can remove that recurrence here.
- All Day Event – Check this box if the event runs all day. Not required.
- Short Description – will appear on Events listing page. Auto populates to Short Teaser Text in Properties Edit Tab. Not required.
- Location Name – will appear on Events Listing Page and Detail Page. Not required.
- Street Address – will appear on the Detail Page. Do not include City and State, as you will choose these from the Lookups. Not required.
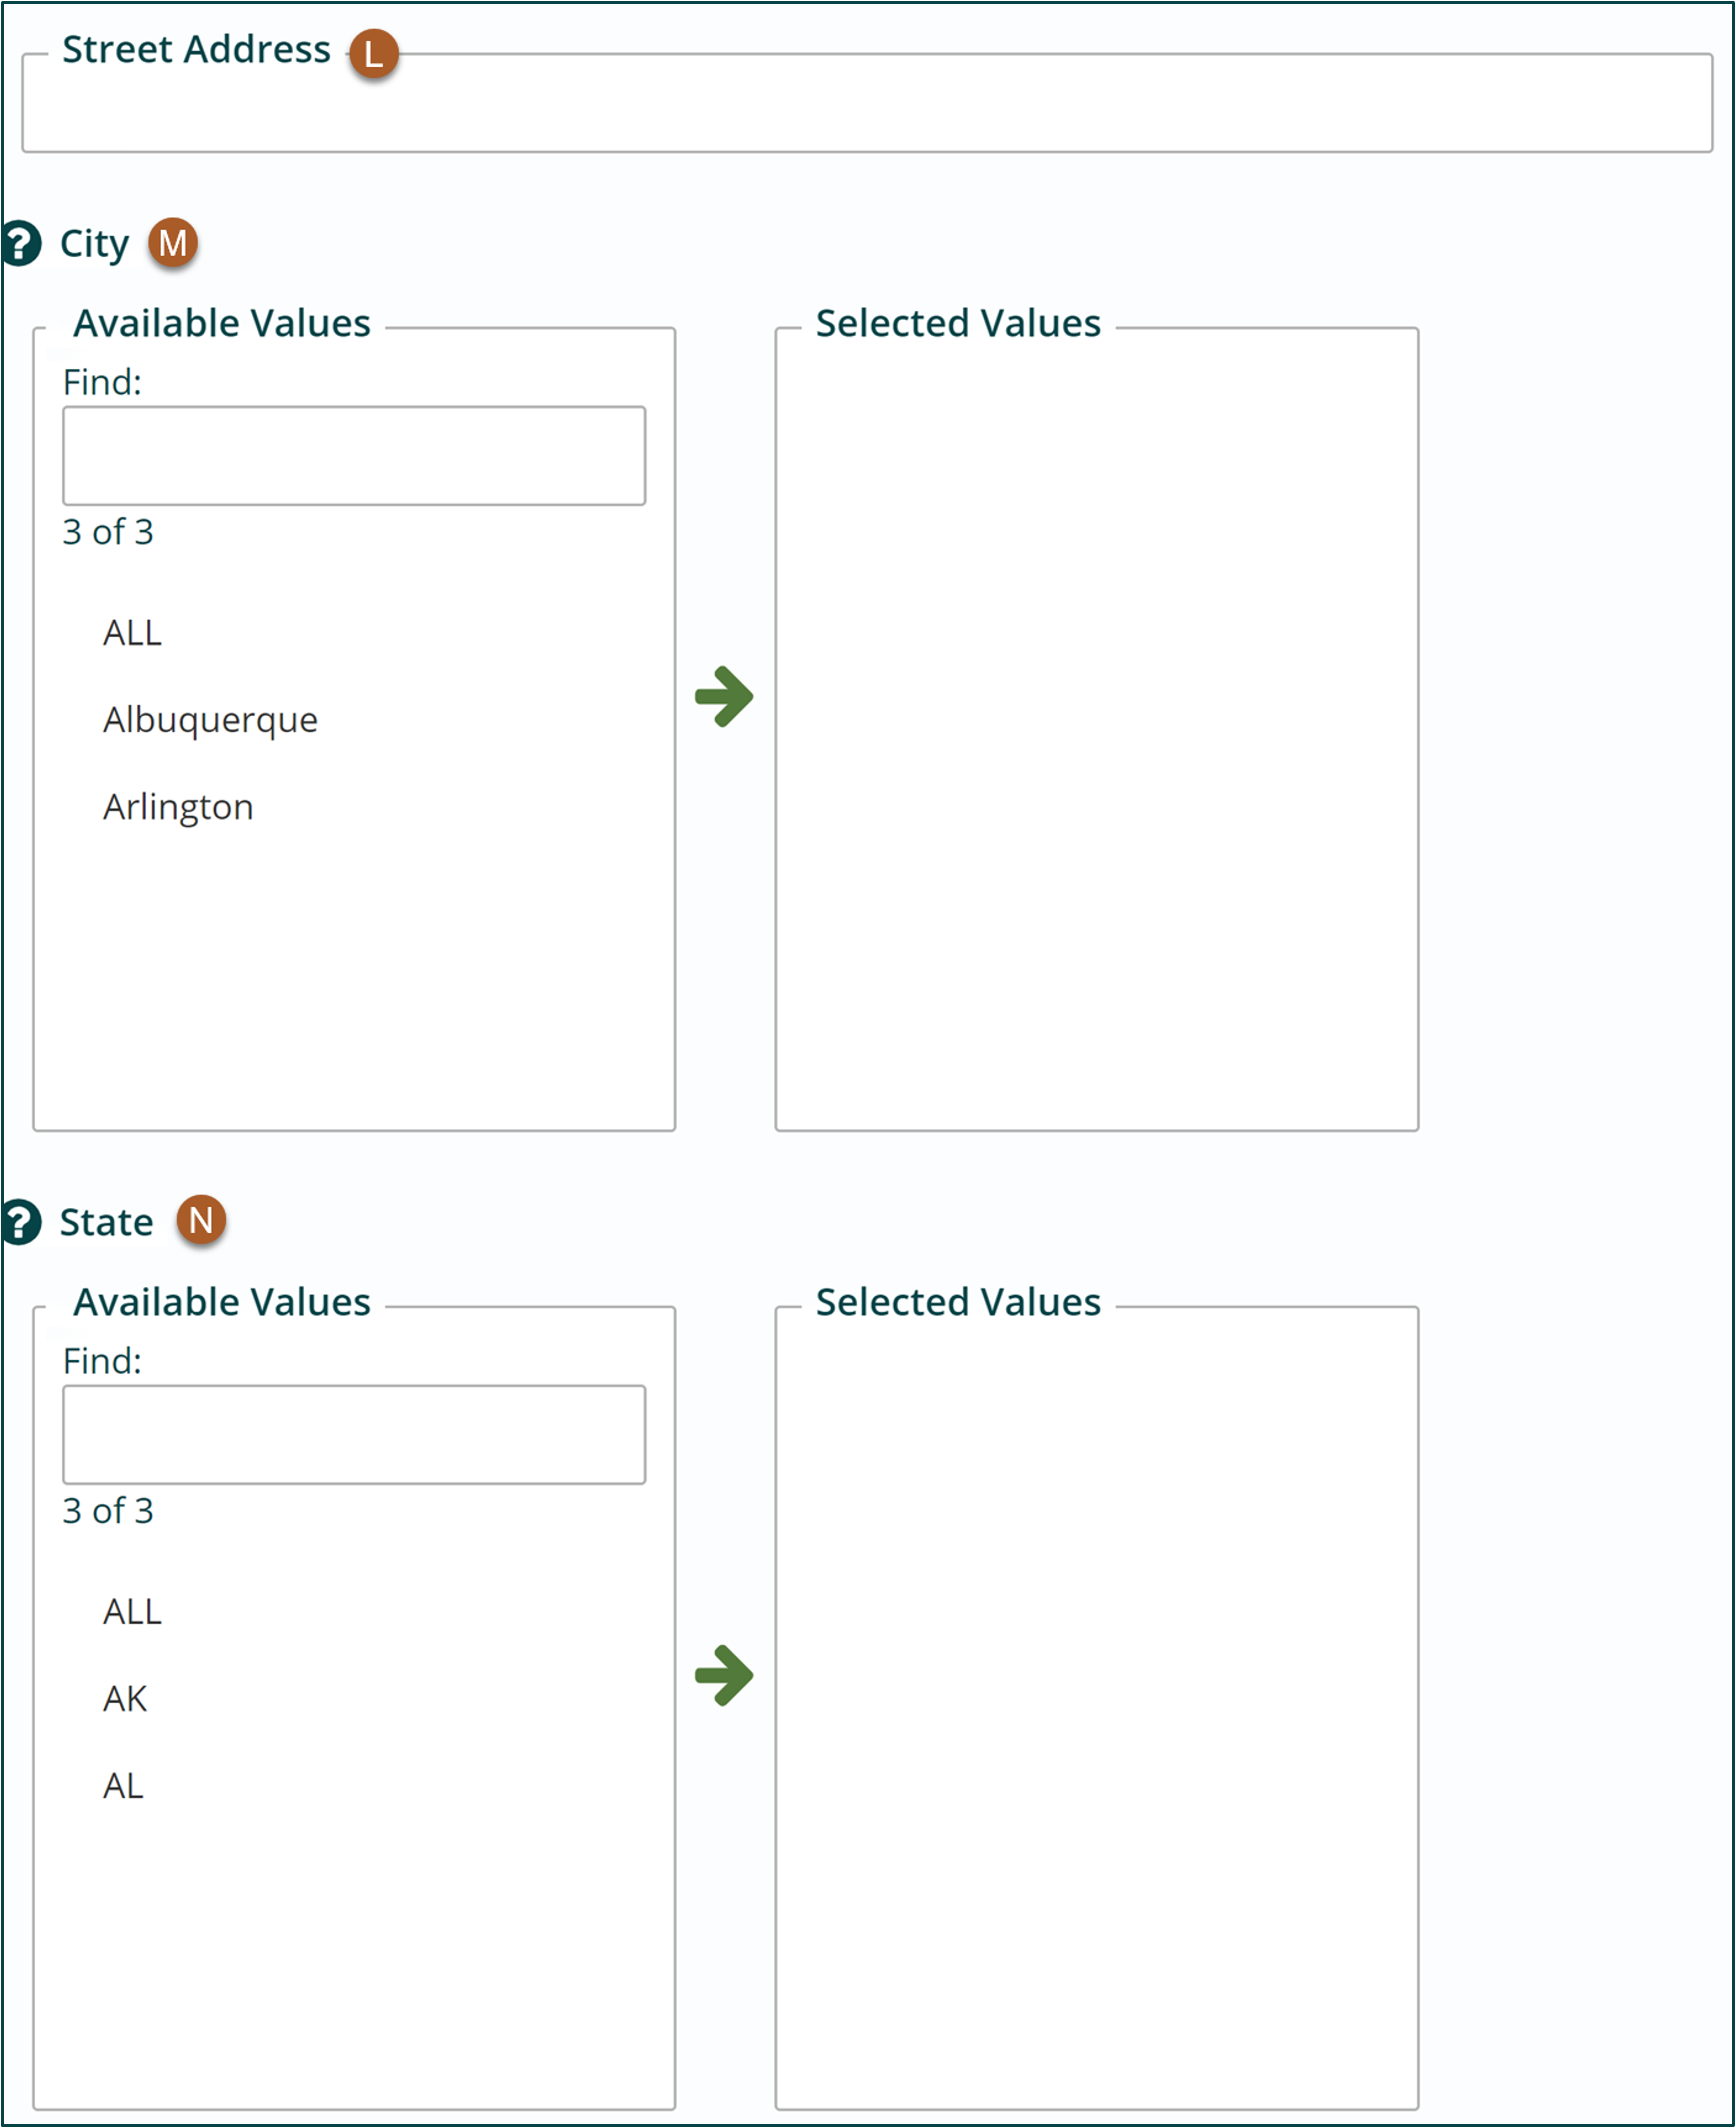
- City – will appear on Events Listing Page and Detail Page. Not required.
- State – will appear on Events Listing Page and Detail Page. Not required.
- Postal Code – will appear on Events Listing Page and Detail Page. Not required.
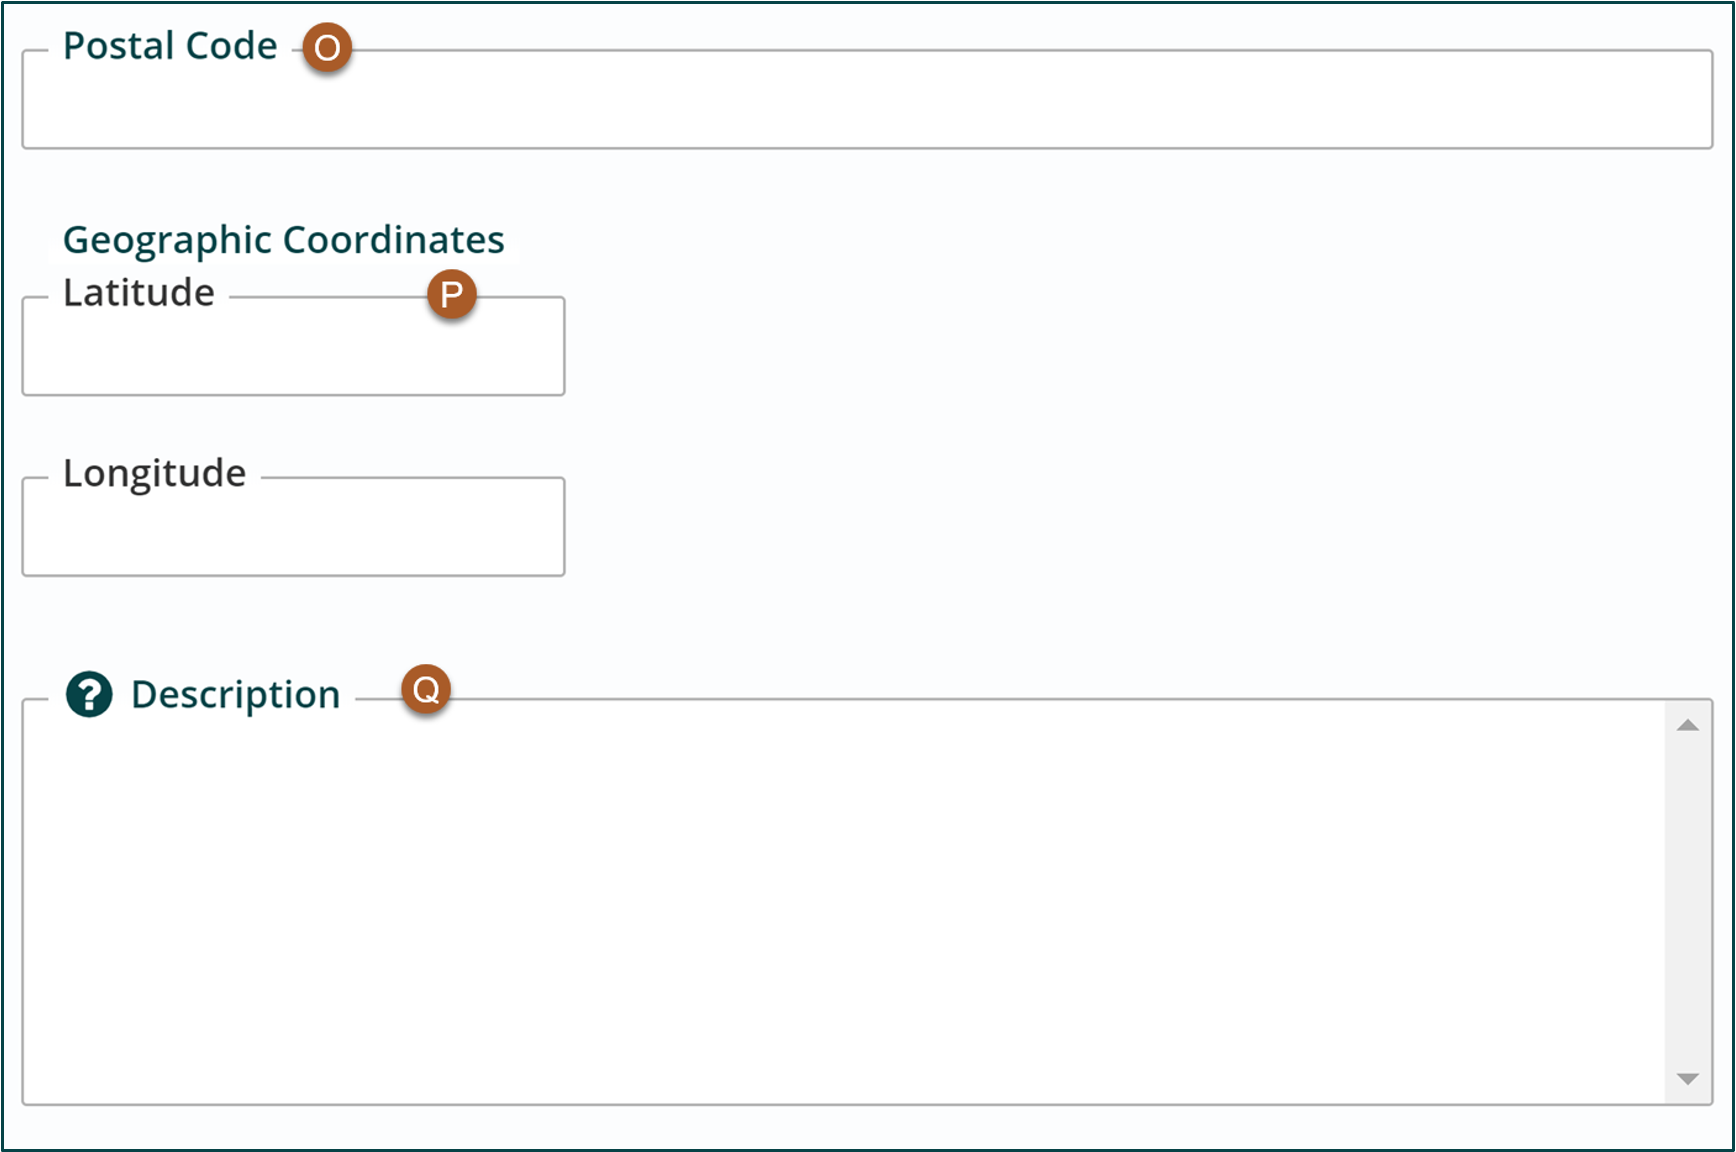
- Geographic Coordinates – will appear on the Detail Page. Not required.
- Description – Will appear on Events Detail page. Add content just like you would in a freeform block. Can include links, bulleted list, etc. Not required.
- Contact Information – Will appear on Event Listing Page. Add content just like you would in a freeform block. Can include links, bulleted list, etc. Not required.
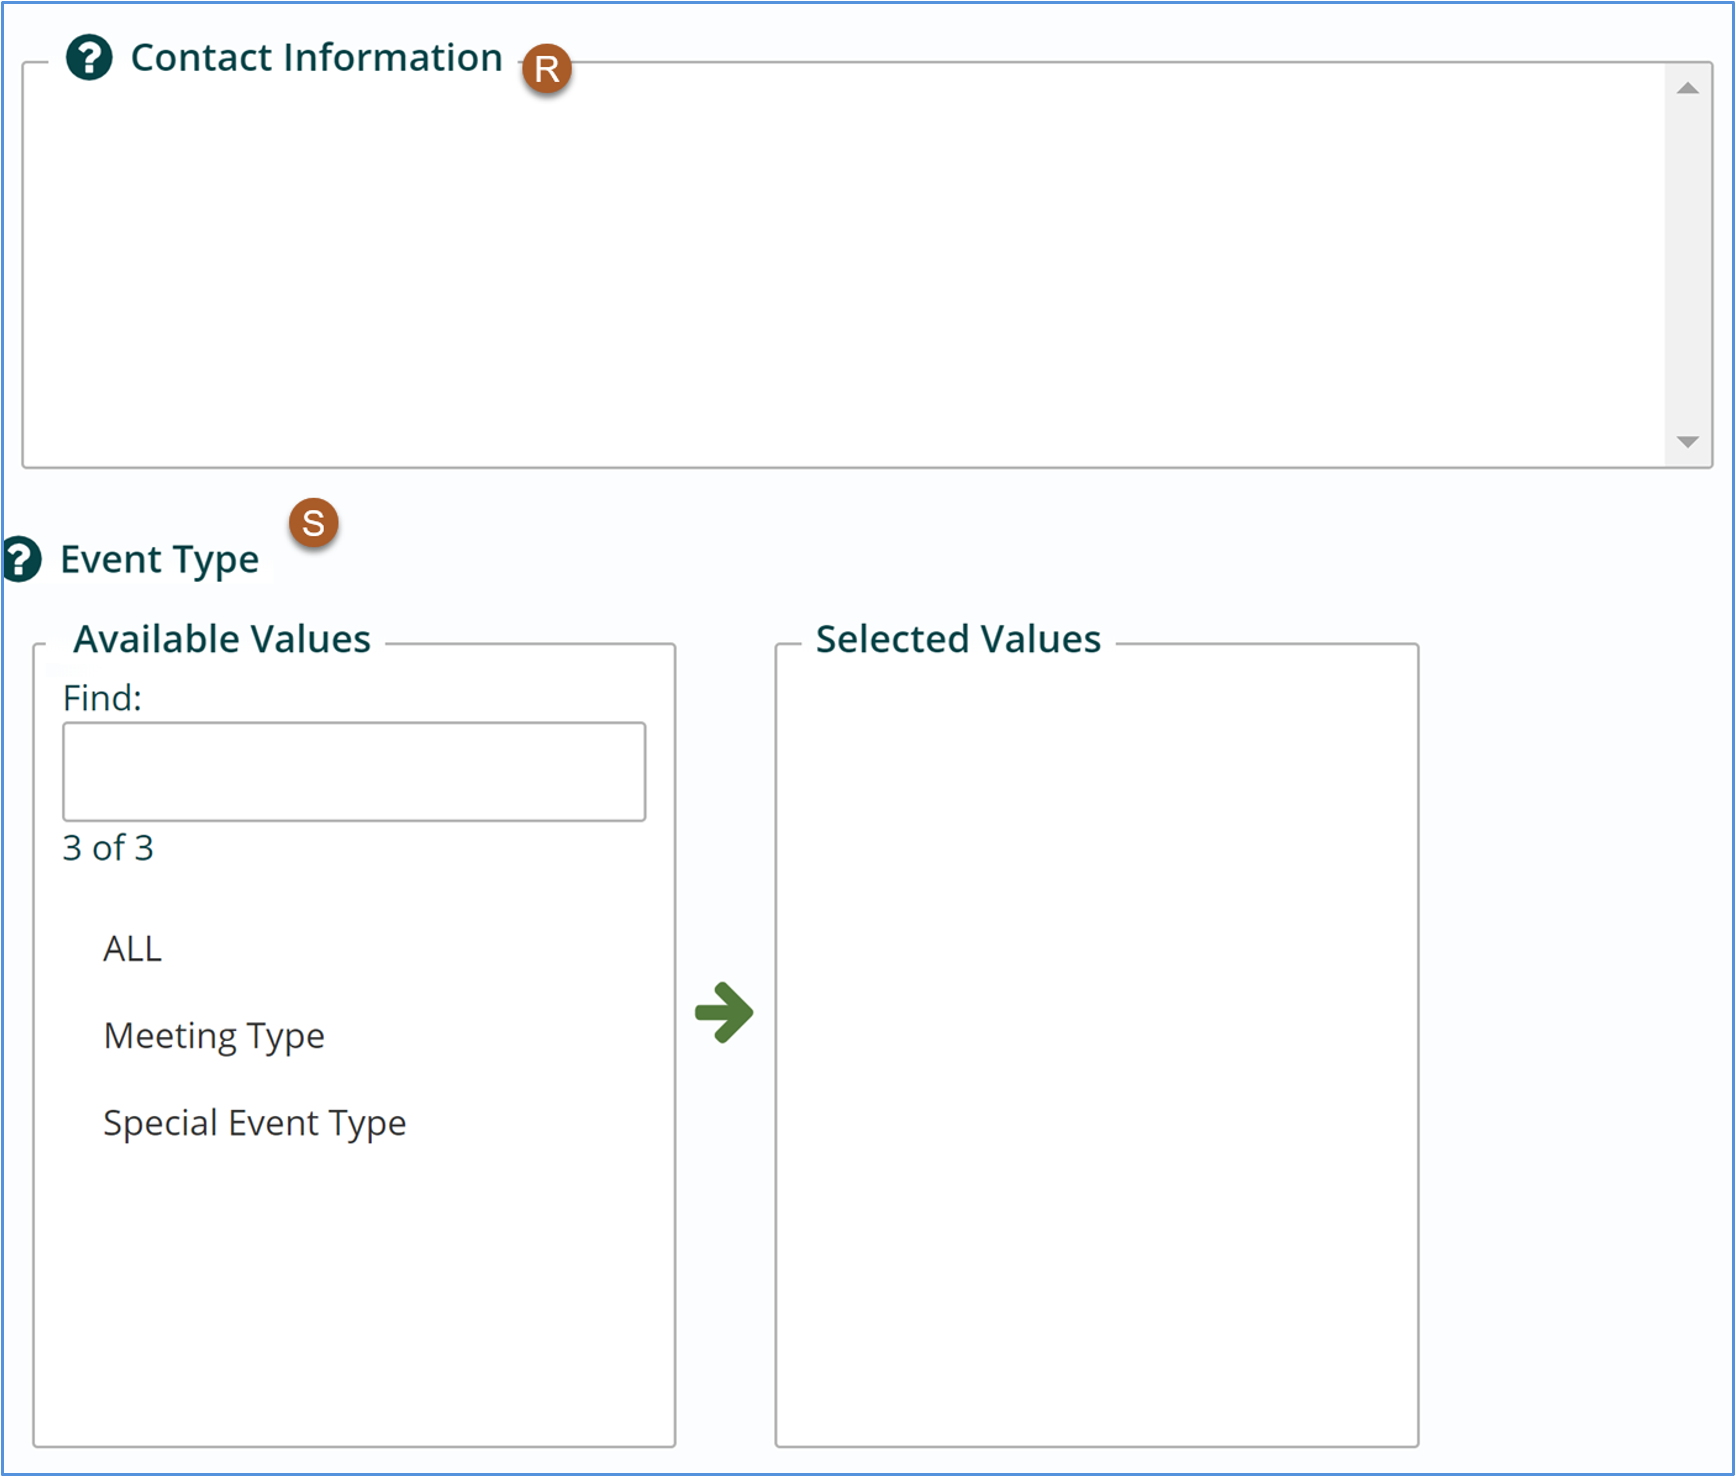
- Event Type – Will appear on Event Listing Page. You can filter by event type on the Events Listing Page. Just select the event type from the list just like you would a tag on your pages or files. Not required.
- Click Save in the App Ribbon.
- Go to the Properties Button for your event. Scroll to the Teaser Info Text section.
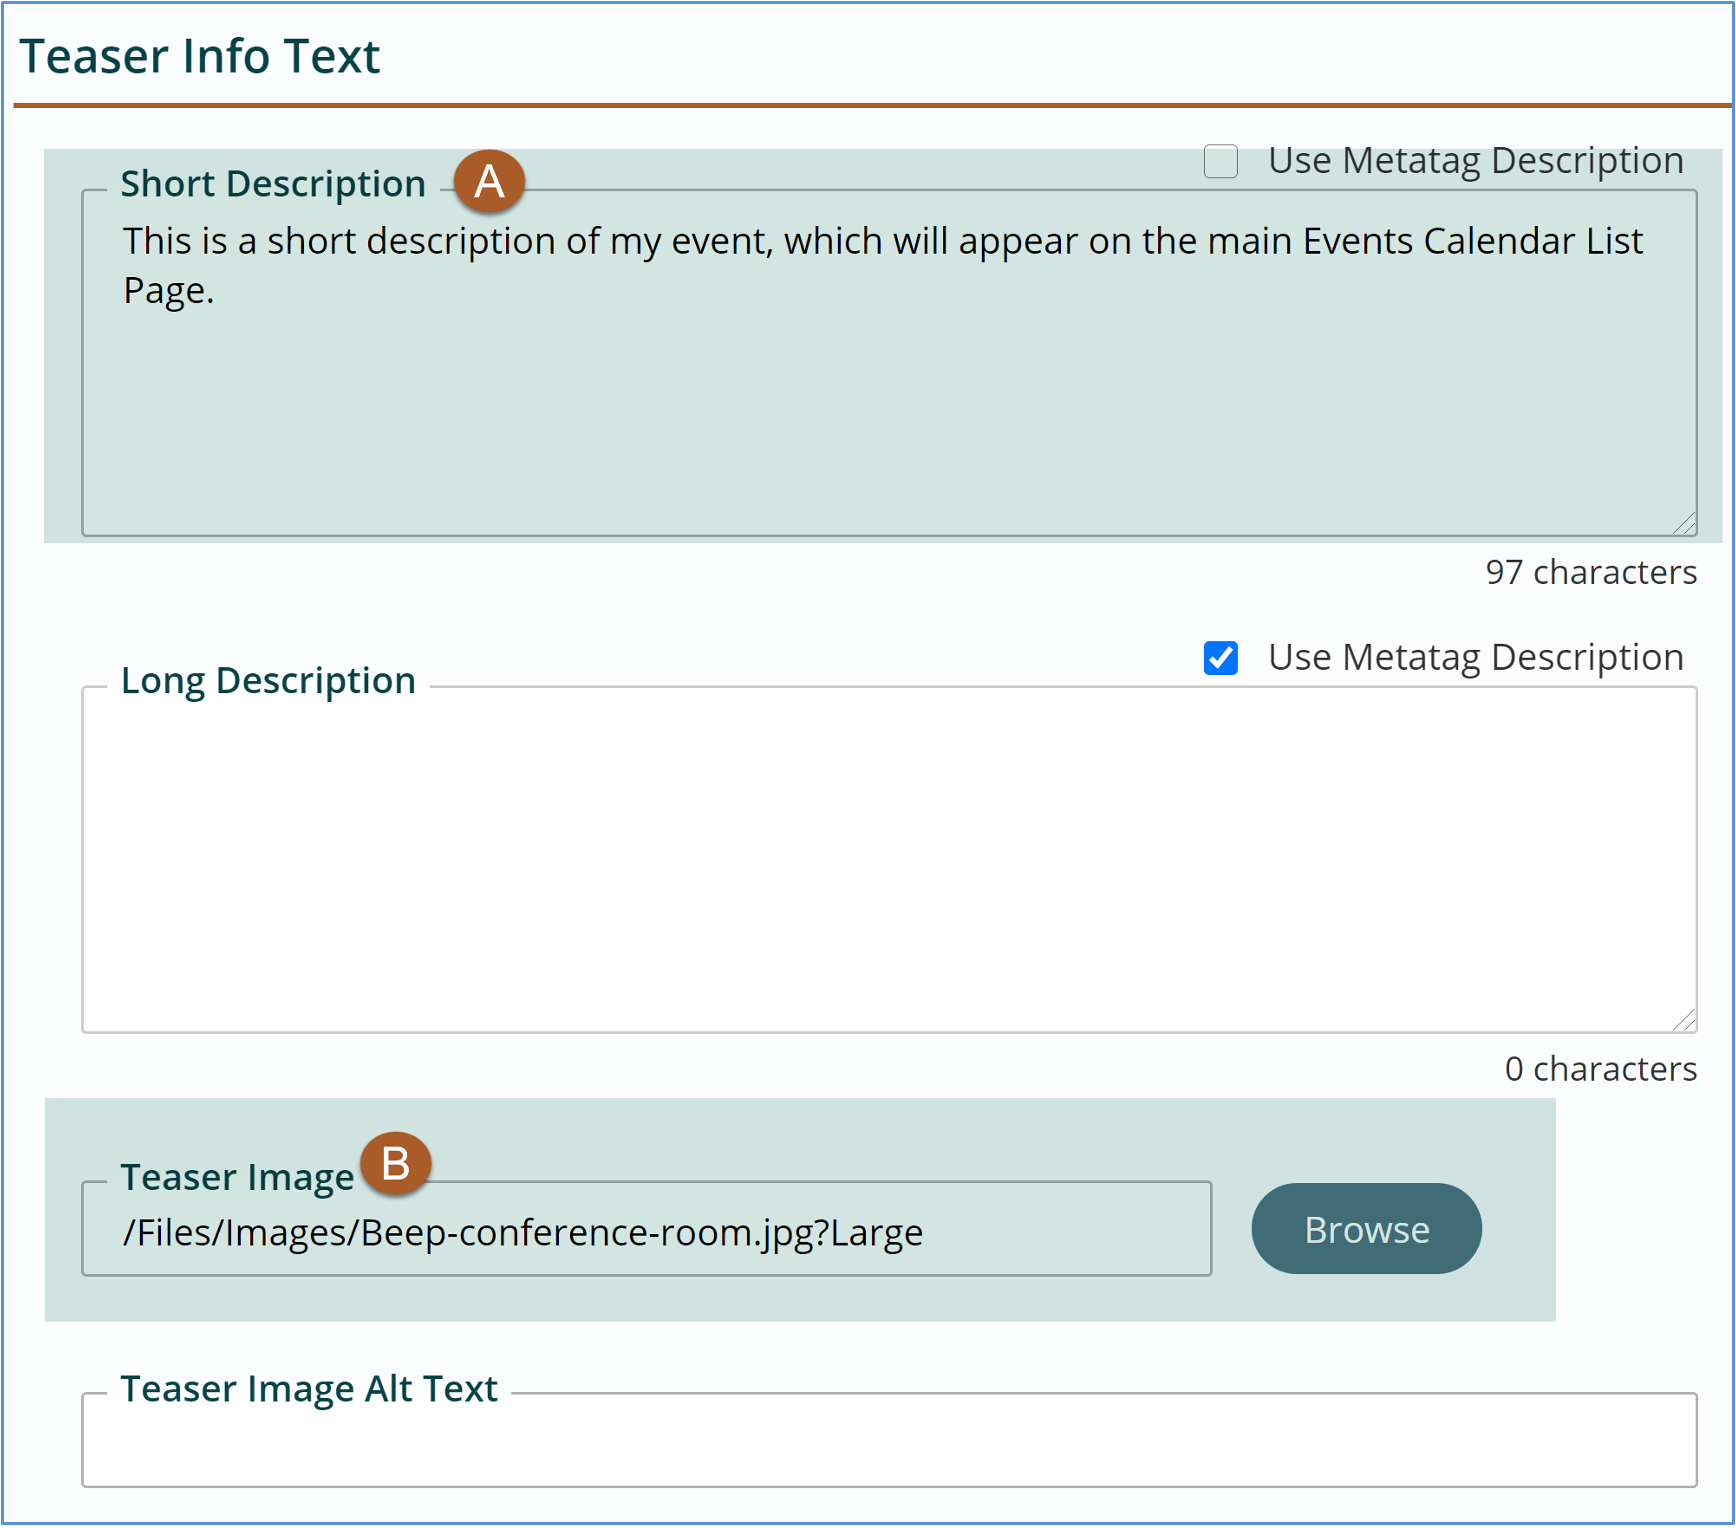
- If you have already added a short description in the Content area, that field will be auto-populated here.
- If you uploaded an image in the Content area, that field will also be auto-populated here.
- The only step you need to do is to add Alt Text for the teaser image. This will ensure that there is Alt text on the events listing page.
- Click Publish.
- Visit your site to verify the event has been added.
Get Support
Expert Titan CMS Support is just a phone call or email away!
Titan CMS Help Desk
9a.m.-5p.m. CT Mon-Fri
Tel: 414-914-9200
Email: [email protected]